How To Install Linux, Apache, MySQL, PHP (LAMP) Stack On CentOS 7.x/RHEL7.x/Fedora 24/23
Merhaba Sevgili Ziyaretçilerimiz;
NetBufe.Com Kazanç amacıyla kurulmamış ve ücretsiz yararlanılan bir sitedir. Video içeriklerinde yer alan reklamlar ile NetBufe.Com sitesinin hiçbir menfaat bağlantısı söz konusu olmayıp ilgili reklamlar videonun yüklü olduğu siteler tarafından veya videoların yüklü olduğu sitelere yüklemeyi yapan kişilerce eklenmiş reklamlardan ibarettir.
Videoların paylaşıma açıldığı sitelerde yüklü videolar/video linkleri herhangi bir nedenle kaldırıldığında ve/veya kısıtlandığında/yasaklandığında sitemizde de ilgili videonun gösterimi otomatik olarak son bulmaktadır.
Telif Hakkı(Copyright Notice) Olabilecek Açık Kullanım İzni Verilmemiş Video Materyaller Hakkında Önerimiz İlgili Videoyu İzlemeyerek(Bu Yönde Materyallerin İzlenmesine Destek Vermeyerek), Resmi Olarak Satın Alıp İzlemeniz Yönündedir.
Tarafımızdan Üyelerimizin sayfamız üzerinde ayrıntılı olarak yer alan tüm bu durumlara ilişkin bilgi ve gerekleri okuyup anladıkları ve kabul ettikleri varsayılmaktadır.
Sitemize ücretsiz ve kolayca üye olarak birçok video paylaşım sitelerindeki kendi videolarınızın linklerini ekleyebilir, Sık Kullanılanlar ve Çalma Listelerinize kaydedebilir ve üye olmanın diğer tüm ayrıcalıklarından üye sosyal alanınızda yararlanabilirsiniz. Video Linkleri Ekleyebileceğiniz Örnek Bazı Siteler
NetBufe.COM
Açıklama
Introduction
A "LAMP" stack is a group of open source software that is typically installed together to enable a server to host dynamic websites and web apps. This term is actually an acronym which represents the Linux operating system, with the Apache web server. The site data is stored in a MySQL database (using MariaDB), and dynamic content is processed by PHP.
In this guide, we'll get a LAMP stack installed on an CentOS 7 VPS. CentOS will fulfill our first requirement: a Linux operating system.
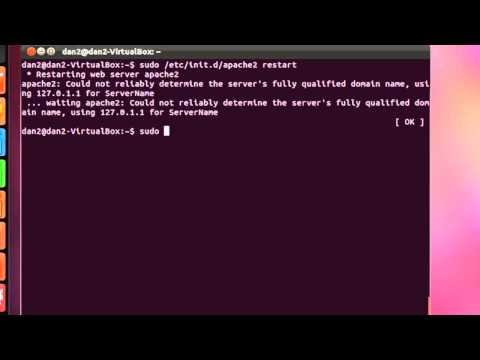
Step 1: Install Apache
The Apache web server is currently the most popular web server in the world, which makes it a great default choice for hosting a website.
We can install Apache easily using CentOS's package manager, yum. A package manager allows us to install most software pain-free from a repository maintained by CentOS. You can learn more about how to use yum here.
For our purposes, we can get started by typing these commands:
#dnf -y install httpd
Once it installs, you can start Apache on your Server :
# systemctl start httpd.service
The last thing you will want to do is enable Apache to start on boot. Use the following command to do so:
#systemctl enable httpd.service
Step 2: Install MySQL (MariaDB)
Now that we have our web server up and running, it is time to install MariaDB, a MySQL drop-in replacement. MariaDB is a community-developed fork of the MySQL relational database management system. Basically, it will organize and provide access to databases where our site can store information.
Again, we can use yum to acquire and install our software. This time, we'll also install some other "helper" packages that will assist us in getting our components to communicate with each other:
#dnf -y install mariadb-server mariadb
When the installation is complete, we need to start MariaDB with the following command:
# systemctl start mariadb
Now that our MySQL database is running, we want to run a simple security script that will remove some dangerous defaults and lock down access to our database system a little bit. Start the interactive script by running:
#mysql_secure_installation
The last thing you will want to do is enable MariaDB to start on boot. Use the following command to do so:
#systemctl enable mariadb.service
Step 3: Install PHP
PHP is the component of our setup that will process code to display dynamic content. It can run scripts, connect to our MySQL databases to get information, and hand the processed content over to our web server to display.
We can once again leverage the yum system to install our components. We're going to include the php-mysql package as well:
#dnf -y install php php-mysql
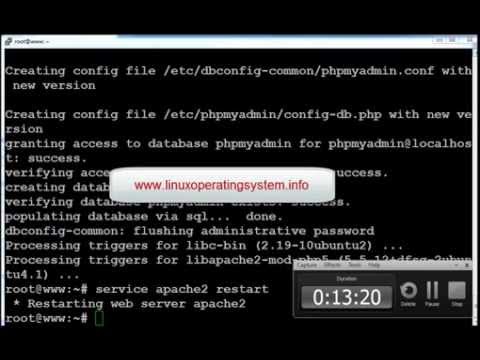
This should install PHP without any problems. We need to restart the Apache web server in order for it to work with PHP. You can do this by typing this:
#systemctl restart httpd.service
Install PHP Modules
To enhance the functionality of PHP, we can optionally install some additional modules.
If we decided that php-fpm is something that we need, we could type:
#dnf -y install php-fpm
Step 4 :Test PHP Processing on your Web Server
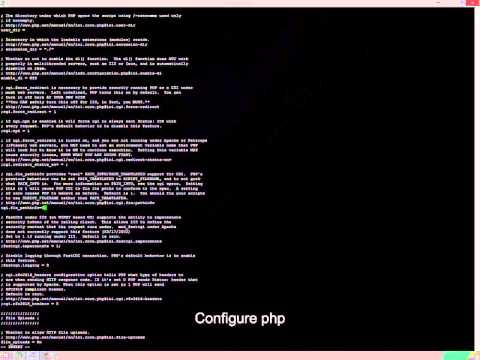
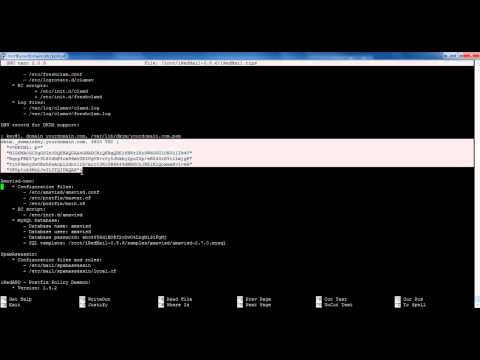
In order to test that our system is configured properly for PHP, we can create a very basic PHP script.
We will call this script info.php. In order for Apache to find the file and serve it correctly, it must be saved to a very specific directory, which is called the "web root".
In CentOS 7, this directory is located at /var/www/html/. We can create the file at that location by typing:
#vi /var/www/html/info.php
This will open a blank file. We want to put the following text, which is valid PHP code
sorry brackets aren't allowed in youtube


![How-to Install CentOS 7 Server + Static Ip + LAMP SERVER + Webmin Admin Panel [HD]](https://i.ytimg.com/vi/voG1hpfNka4/hqdefault.jpg)


![[ Hindi ] How To Install PentBox Tools On Kali Linux || Install PentBox Tools In Kali Linux](https://i.ytimg.com/vi/qZAeVsJ6_-c/hqdefault.jpg)